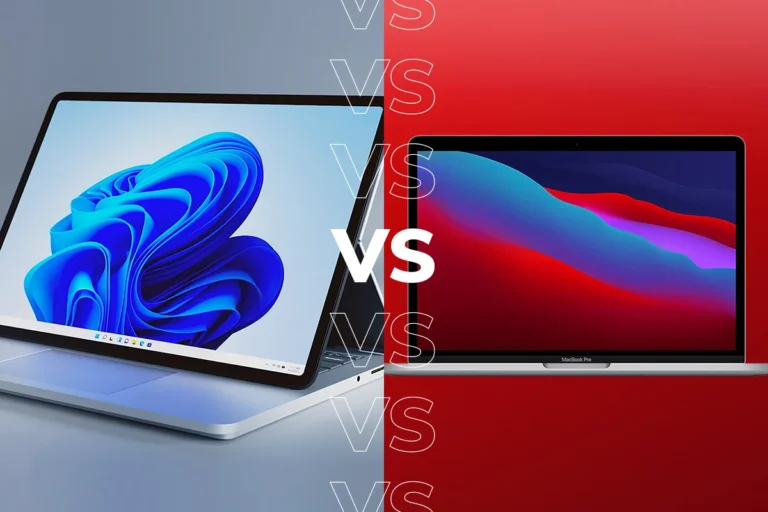
In our increasingly digital world, laptops have become an integral part of our lives. Whether we use them for work, entertainment, or communication, it’s essential to keep our laptops running smoothly. One crucial aspect of laptop maintenance is cleaning the memory.
This article will guide you through the process of cleaning your laptop memory effectively, ensuring optimal performance and longevity.
1. Introduction
Before delving into the details, let’s understand what laptop memory refers to. In simple terms, laptop memory, or RAM (Random Access Memory), is the temporary storage space where your laptop stores data that is actively being used. Over time, this memory can become cluttered with unnecessary files and processes, leading to a sluggish performance. By cleaning your laptop memory regularly, you can free up space, enhance speed, and improve overall system efficiency.
2. Why Clean Laptop Memory?
Understanding the Importance
Cleaning your laptop memory offers several benefits:
- Enhanced Performance: When your laptop memory is filled with unnecessary files, it takes longer for the system to access the data it needs, resulting in slower performance. By cleaning the memory, you can reduce delays and experience a faster, more responsive laptop.
- Optimized System Resources: Clearing out unnecessary processes and files from your laptop memory allows your system resources to be better utilized. This optimization results in smoother multitasking and improved efficiency when running resource-intensive applications.
- Preventing Crashes and Freezes: Cluttered memory can lead to system crashes or freezes, causing frustration and potential data loss. Regularly cleaning your laptop memory can help prevent such issues, ensuring a stable and reliable computing experience.
3. Steps to Clean Laptop Memory
Now, let’s explore the step-by-step process of cleaning your laptop memory effectively:
3.1. Close Unnecessary Programs
Before you begin cleaning your laptop memory, close any unnecessary programs or applications running in the background. These programs consume valuable memory resources, slowing down your laptop’s performance. Close them by right-clicking on their icons in the taskbar and selecting “Close” or using the Task Manager to end the processes.
3.2. Delete Temporary Files
Temporary files accumulate on your laptop over time and can take up a significant amount of memory. To remove these files, navigate to the “Temporary Files” or “Disk Cleanup” option on your operating system. Select the types of files you want to delete, such as temporary internet files, system temporary files, or recycle bin contents, and proceed with the cleanup.
3.3. Uninstall Unneeded Apps
Uninstalling unnecessary applications not only frees up storage space but also helps clean up memory usage. Go to the “Control Panel” or “Settings” and access the “Apps” or “Programs” section. Review the installed applications and uninstall those that you no longer need or rarely use.
3.4. Clear Browser Cache
Browsers store temporary files and website data in their cache, which can consume memory resources. Clearing the cache will remove this data and help free up memory. Access your browser’s settings, locate the “Clear Browsing Data” or “Clear Cache” option, and select the desired time range and types of data to clear.
3.5. Utilize the Disk Cleanup Tool
Operating systems often provide built-in disk cleanup tools that can efficiently clean up your laptop’s memory. These tools scan for unnecessary files and offer options to delete them. Search for “Disk Cleanup” in your system’s search bar, select the drive you want to clean, and let the tool do its work.
3.6. Disable Startup Programs
Many applications configure themselves to launch automatically when you start your laptop. Disabling unnecessary startup programs reduces memory usage and improves boot-up times. Access the “Task Manager” or “System Configuration” settings, navigate to the “Startup” tab, and disable the programs you don’t need to launch at startup.
4. Additional Tips and Best Practices
- Regularly update your operating system and applications to benefit from bug fixes, security patches, and performance improvements. These updates can enhance memory management and overall laptop performance.
- Invest in an external hard drive or cloud storage to offload large files and free up memory on your laptop. This approach is especially useful if you work with media files or other data-heavy applications.
- Consider using optimization software specifically designed for cleaning and optimizing laptop memory. These tools automate the process and ensure thorough cleaning without the need for manual intervention.
5. Conclusion
Cleaning your laptop memory is a vital maintenance task that helps improve performance, prevent crashes, and optimize system resources. By following the steps outlined in this article, you can effectively clean your laptop memory, ensuring a smooth and efficient computing experience. Remember to perform these cleaning routines regularly to maintain optimal performance over time.
6. FAQs
Q1. How often should I clean my laptop memory?
It is recommended to clean your laptop memory at least once a month or whenever you notice a decline in performance.
Q2. Will cleaning my laptop memory delete my files?
No, cleaning your laptop memory does not delete your files. It removes temporary files and unnecessary data, improving system performance without affecting your personal files.
Q3. Can I clean my laptop memory using third-party software?
Yes, there are several reliable third-party software options available for cleaning laptop memory. Ensure you choose a reputable and trusted program.
Q4. Will cleaning my laptop’s memory void the warranty?
No, cleaning your laptop memory does not void the warranty. It is a standard maintenance procedure that helps ensure optimal performance.
Q5. Can I clean laptop memory on a Mac?
Yes, Mac users can also clean their laptop memory by following similar steps, such as closing unnecessary programs, deleting temporary files, uninstalling unneeded apps, clearing the browser cache, and utilizing disk clean-up tools.


